Yesterday, while I was heading home, Unai told me about a simple and interesting idea he just had.
The winner of each challenge will have to create a blog post explaining how the picture of that challenge was made.
We thought this was a really interesting idea, specially for those individuals who are learning about photography, that are willing to practice new stuff or just if they are curious about it.
For these reasons, I want to announce the first post of "How its made".
To create "Raindrop home" for the 4th challenge, I was thinking that reflect my house trough a drop would be original and beautiful (and of course a challenge for me), so I started to think how I could do it.
To start, I would need something to generate the drop, a clear fluid and the macro lens basically.
Here is the list of all the main element I used to take the picture:
To start, I would need something to generate the drop, a clear fluid and the macro lens basically.
Here is the list of all the main element I used to take the picture:
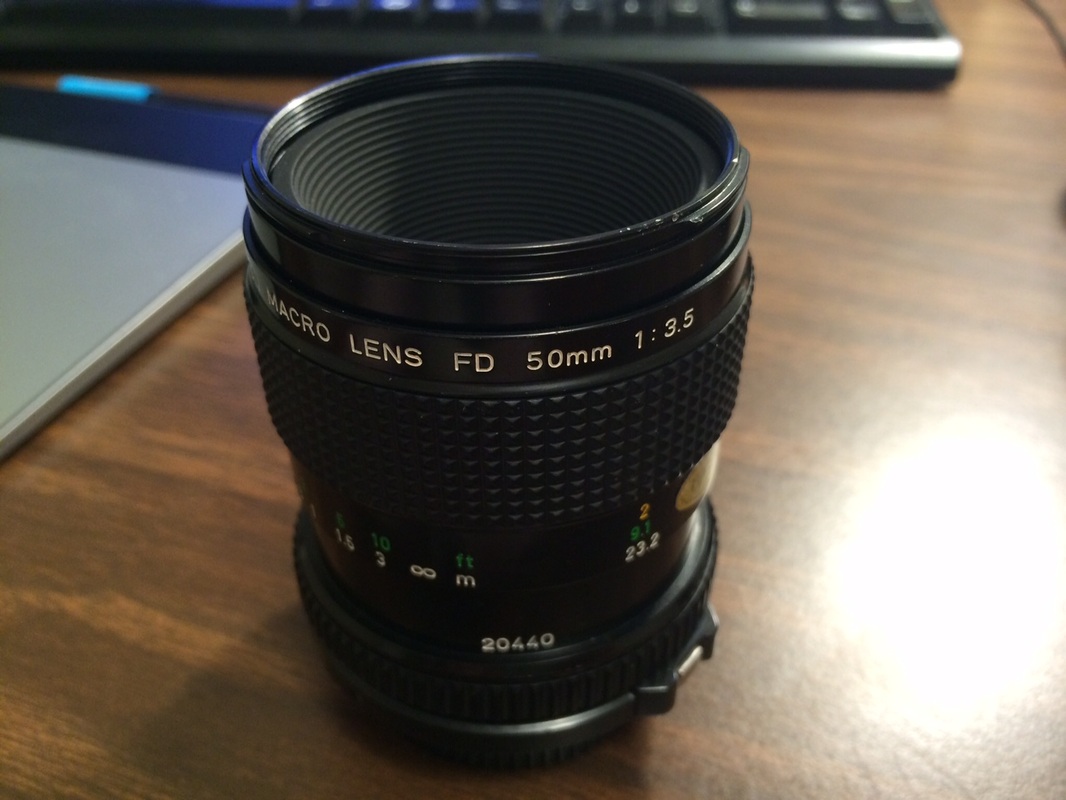 Canon Macro Lens FD 50mm f3.5 | 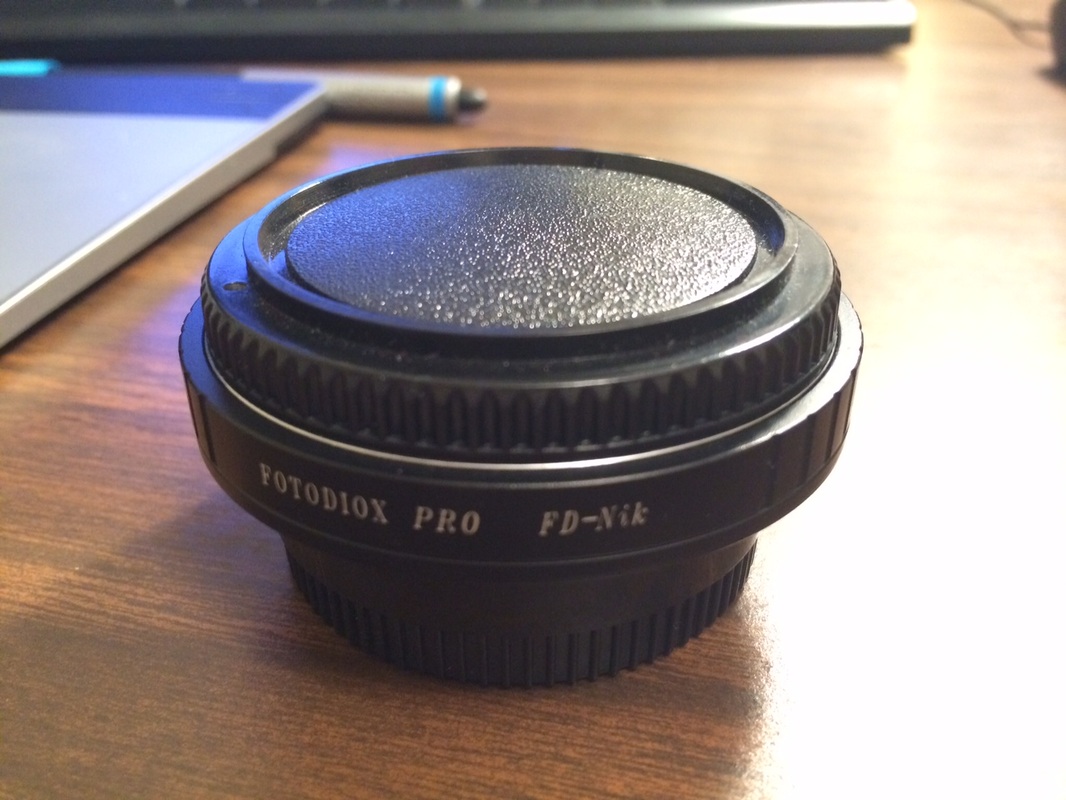 Adaptor Canon FD Lens to Nikon | 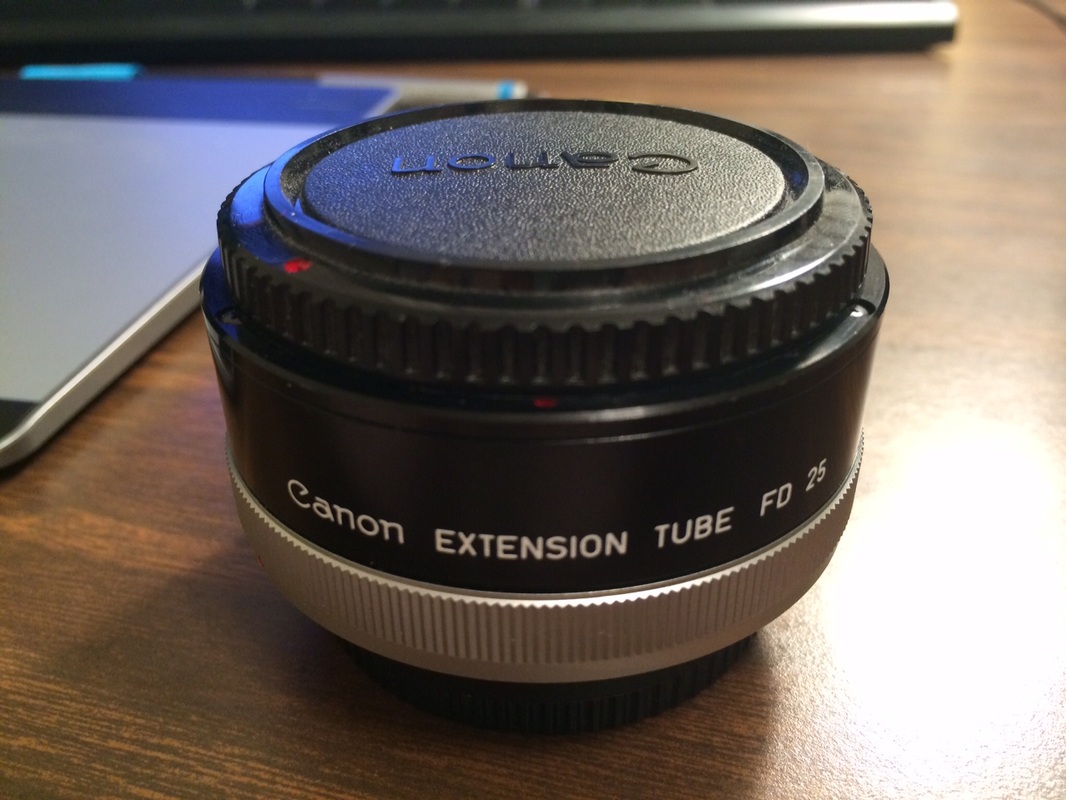 Canon Extension Tube FD25 |
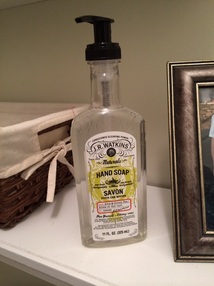 Clear Hand Soap | 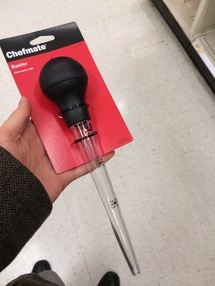 Turkey Baster |
In this case, the adapter is needed because the macro lens I used is a Canon lens borrowed from my mother in law (thank you Nan) and my camera is a Nikon.
The extension tube is just an "add in" to the set up so the macro lens is mounted farther from the body. It doesn't contain any lenses or other element inside, is just an "spacer" that creates a zoom effect, perfect for macro photography.
Of course, I also used my Nikon D5100 and the tripod, that is essential for this picture.
At first, I was thinking to use just water as the liquid, but to accomplish this idea I needed it a large amount of light that would allow me to use high shutter speed. Easy right? Use the flash Aitor!
Of course, that was the first thing I thought about. But I did some tests and the flash was giving me a sharp well lighted photo, but wasn't giving me the light I needed it for the whole picture, and even worse for the home I wanted to reflect. So I discarded this option.
For this reason I thought about the hand soap. A clear fluid that is not as clear as water but is much viscous, aka, slower when dropping . Exactly what I needed.
Once I had the soap and the baster, I just had to set up the scene and do some testing.
Here you can see a picture of the first indoor test with the soap. In this case I was trying to focus a watering can on the table.
You can appreciate the problems I had to focus the image.
To get the result of "Raindrop home" I had to play a lot with the focus, and the distance between the drop and the macro lens. Because when you are dealing with this kind of lenses, half of millimeter can get you out of focus easily.
The day of the final picture, after had done bunch of testing the day before, I woke up at 6am, set up my equipment, I filled out the baster full of soap, and I headed in front of my house. With the help of a little table, a box and tape, I taped the baster horizontally to a adequate high level. I set up the tripod and I started taking shots.
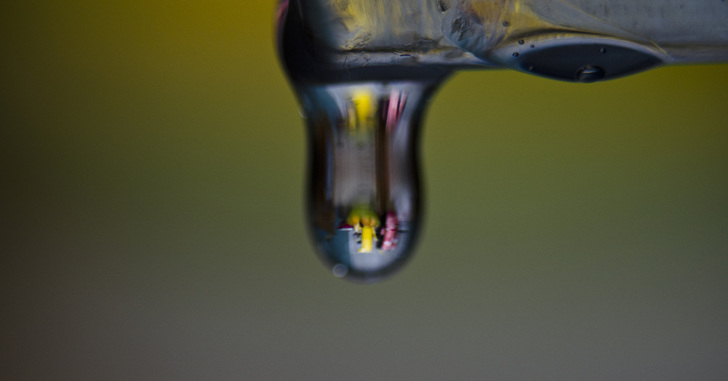
| The first shots were not good. It was really hard to find a good position where I could perfectly capture the house trough the drop. I had to set up the whole thing around 5 times to be comfortable with the angle. But once I had the right angle, I just had to focus correctly. Sounds easy, but after some shots I thought I would not be able to get the shot I wanted. With my left hand I was pushing the baster so a drop could start falling. With my right hand I was ready to take the shoot. And with my left hand again, while the drop started dropping, I had to try to focus the house, without getting out of focus the rest. It was a nightmare to get the correct shot. But at the end, every effort has its benefit, and after trying several times I got the picture that would give me the winning photo of the 4th challenge. After all, I just had to fix it and clean it little bit in the RAW process and PS to get the final result. | 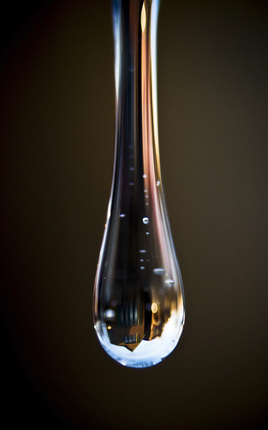 |
 RSS Feed
